How to Set Up Stream Alerts in Streamelements
You’ve just gone live. A new viewer, intrigued by your title, clicks on your stream. The first thing they do? They follow, waiting to see
You’ve just gone live. A new viewer, intrigued by your title, clicks on your stream. The first thing they do? They follow, waiting to see what happens. In this critical moment, a generic, pixelated alert pops up with a robotic voice. The viewer’s excitement fades. That small detail, a default alert, just told them your stream is like everyone else’s.
Now, imagine a different scenario. A custom, beautifully animated alert that matches your brand’s energy explodes onto the screen with a unique sound. The new follower feels an instant rush of excitement. They feel seen, welcomed. They’ve just been given a taste of your brand’s quality, and now they’re here to stay.
This is the power of professional stream alerts. They are not just notifications; they are the heartbeat of your channel’s brand and community.
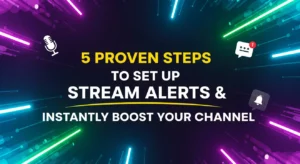
In this ultimate guide, we will teach you not only how to set up stream alerts for Twitch, YouTube, and Kick, but also how to use them as a powerful tool for growth. We’ll cover the best platforms, the step-by-step setup process, and pro tips that top streamers use to turn viewers into loyal fans. Ready to level up? Let’s begin.
First, if you’re looking for professional, ready-to-use designs, check out our complete collection of animated Twitch alerts.
At its core, a stream alert is a real-time visual and audio notification that appears on your stream to acknowledge a viewer’s action. But strategically, they are much more than that. Professional alerts are a critical component of your growth strategy, serving four key functions:

To manage your alerts, you need a browser-based alert management tool. These services host your alert graphics and logic, and you simply add them to your broadcast software (like OBS) via a single “Browser Source”. The two industry leaders are StreamElements and Streamlabs.
For this guide, we will focus primarily on StreamElements, as it offers the most professional control. The process for Streamlabs is very similar.
This is the most professional and flexible way to manage your new alerts. Follow these steps, and you’ll be running in minutes.
First, head over to the StreamElements website and log in with your Twitch, YouTube, or Kick account. Authorize the connection to allow it to read your channel’s events (like new followers and subscribers).
In the StreamElements dashboard, go to the “Streaming Tools” section in the left menu and click on “My Overlays”. Click “New Overlay”. You’ll be asked to choose a resolution; select 1080p.
You are now in the Overlay Editor. This is your canvas.
+ button at the bottom of the screen.You will see a default AlertBox appear on your canvas. This single box will handle all your different alert types.
Now for the fun part!
.webm alert file.You have now replaced the default follower alert with your custom animated one!

Your custom alert is the visual base, but StreamElements will add the text (like the person’s username) on top of it.
{name} variable will be automatically replaced with the viewer’s username..webm file already has audio.Repeat this process for your Subscriber, Donation (Tip), and any other alerts you want to customize. For a truly unique and edgy look, check out how our Glitch Twitch Alerts can be customized with different fonts and colors.
Once you have configured all your alerts, click the “Save” button in the top right of the StreamElements editor.
+ icon and select “Browser” (or “Browser Source”).1920 and the Height to 1080.That’s it! Your custom alerts are now live. You can test them by going back to the StreamElements editor and clicking “Emulate” at the bottom to trigger a test event.
The process for Streamlabs is just as simple, but you configure everything on their website dashboard.
.webm file here.Setting up your alerts is just the beginning. Using them strategically is what separates amateurs from pros.
.webm. It provides the highest quality with perfect transparency (alpha channel) and extremely small file sizes, ensuring your stream doesn’t lag. While .gif files work, their quality is very low and they lack true transparency. .mov files are for video editing and are generally not compatible with browser sources..webm files, like the ones from StreamSkins, ensures the lowest possible file size and fastest performance.Your stream alerts are the most frequent and visible representation of your brand’s personality and professionalism. They are your automated hype-man, your community-builder, and your monetization engine all in one. By moving beyond the default options and implementing custom alerts, you are making a clear statement to every viewer: this is a high-quality, professional channel worth their time and support.
Now that you know how to set up stream alerts, it’s time to find the perfect design to represent your brand.
You’ve just gone live. A new viewer, intrigued by your title, clicks on your stream. The first thing they do? They follow, waiting to see
You’ve just gone live. A new viewer, intrigued by your title, clicks on your stream. The first thing they do? They follow, waiting for that
Stream Skins is a Design Company focused on improving your stream.
Do you want to evolve your stream?
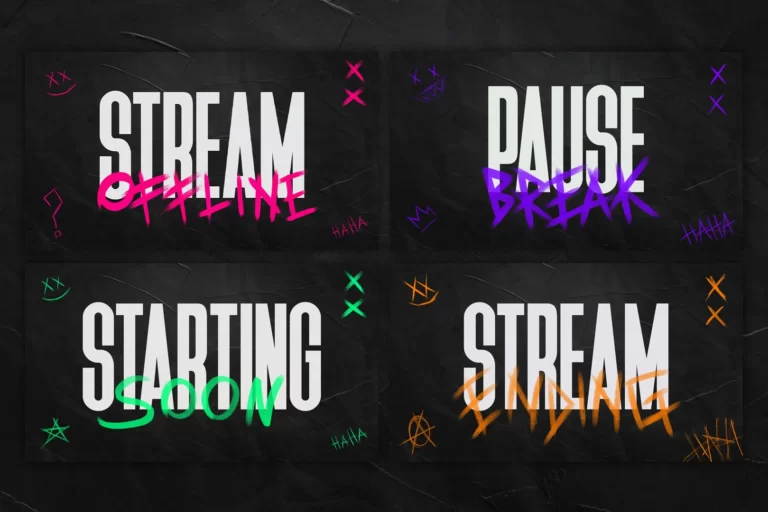
Premium Stream Overlays, Starting Soon, BRB, Stream Ending, Facecams, Transitions, Twitch Banners & Panels. Check out our Stream Shop.