How to Set Up Stream Alerts in Streamelements
You’ve just gone live. A new viewer, intrigued by your title, clicks on your stream. The first thing they do? They follow, waiting to see

You’ve just gone live. A new viewer, intrigued by your title, clicks on your stream. The first thing they do? They follow, waiting for that moment of recognition. In this critical five-second window, a generic, pixelated alert box appears. The moment, and the potential connection, is lost. That small detail just told the viewer your stream is like a thousand others.
Now, imagine a different scenario. A custom, beautifully animated alert that matches your brand’s energy explodes onto the screen with a unique sound. The new follower feels an instant rush of excitement. They feel seen, welcomed, and immediately understand that they’ve landed in a professional, high-quality broadcast. They’ve just been given a taste of your brand, and now they’re here to stay.
This is the power of professional stream alerts. They are not just notifications; they are the heartbeat of your channel’s brand, community, and growth strategy.
In this ultimate 2025 guide, we will teach you not only how to set up stream alerts for Twitch, YouTube, and Kick, but how to master them. We’ll cover the best platforms, provide a detailed step-by-step setup process, and share pro tips that top streamers use to turn casual viewers into paying subscribers. If you’re serious about creating a memorable channel, this guide is for you.

Before we dive into the technical setup, it’s crucial to understand why alerts are so effective. A well-executed alert is a powerful psychological tool that transforms passive viewing into active participation. It taps into fundamental human desires for recognition and community, creating a powerful feedback loop that fuels channel growth.
When a viewer follows, subscribes, or donates, and a unique, exciting alert appears on screen with their name, it triggers a small release of dopamine in their brain. This is a powerful chemical reward. You have publicly acknowledged their action and made them the star of the show, even for a moment. This positive reinforcement makes them more likely to interact again in the future and encourages other viewers to seek the same rewarding experience.
Imagine a new viewer enters your stream and, within minutes, sees three or four unique subscriber alerts pop up. What does this instantly tell them? It signals that this channel is active, growing, and valued by others. This social proof is incredibly powerful. It builds immediate trust and communicates that your content is worth supporting. A stream with frequent, professional alerts is perceived as a thriving community that new viewers will want to join.
Your alerts are one of the most frequently displayed visual elements of your brand. They are a constant opportunity to reinforce your channel’s personality.
Default alerts are generic and say nothing about you. Custom alerts are a vital part of your stream branding and make your channel instantly recognizable. For creators building a specific aesthetic, a perfectly matched alert package, like our dynamic Valorant Stream Alerts, creates a truly immersive experience.
To manage your alerts, you need a browser-based alert management tool. These services are the “brain” behind your notifications. They connect to your streaming platform account, watch for events, and play your animations in your broadcasting software. The two industry leaders are both free and incredibly powerful.
For this guide, we will provide a deep dive into how to set up stream alerts with StreamElements, as it offers the most professional control. The process for Streamlabs is very similar and will be covered in a subsequent section.
This is the most professional and flexible way to manage your new alerts. Follow these five proven steps, and you’ll have a professional alert system running in minutes.
First, navigate to the StreamElements website and choose to log in with your Twitch, YouTube, or Kick account. You will be asked to authorize the connection, which allows StreamElements to read your channel’s events (like new followers, subscribers, raids, etc.) in real-time. This is a secure and standard procedure.
In your StreamElements dashboard, find “Streaming Tools” in the left-hand menu and click “My Overlays.” Click the “New Overlay” button. You’ll be prompted to choose a resolution; always select 1080p for the best quality.
You are now in the Overlay Editor. This is your digital canvas.
+ button at the bottom of the screen.A default AlertBox will be added to your canvas. This single, powerful widget is the container that will manage and display all of your different alert types.

This is where the magic happens.
.webm alert file into the upload area.You have now successfully replaced the generic follower alert with your own professional, animated graphic!
Why WEBM is the Only Format That Matters We deliver all our animated alerts in .webm format. This is the undisputed industry standard for stream graphics for three key reasons:
Your animated .webm file is the visual foundation, but StreamElements allows you to layer text and sound on top for full customization. In the same alert settings window:
{name} variable is a template that will be automatically replaced with the viewer’s username. Get creative!.mp3 or .ogg sound to play with your alert. You can also adjust the volume. Pro Tip: A short, unique, and pleasant sound is far more effective than a loud, jarring one.Repeat this customization process for your Subscriber, Donation (Tip), and any other alerts you want to activate. For a truly unique look, consider how a distinct package like our Glitch Twitch Alerts can be customized with cyberpunk fonts and colors to create a fully immersive theme.
This is the final step. Once you’ve configured all your alerts in the StreamElements editor, click the “Save” button in the top right corner.
+ icon and select “Browser” (often called “Browser Source”).1920 and the Height to 1080.You’re done! A transparent layer containing your alerts is now part of your stream scene. You can test your new setup by going back to the StreamElements editor, hovering over the “Emulate” button at the bottom, and triggering a test event, like a “Follower event.” You should see your custom alert play live in OBS.
One of the best features of using a cloud-based service like StreamElements is its multi-platform support. The process to set up YouTube stream alerts or Kick alerts is almost identical to the Twitch setup.
The only difference is at the very beginning. When you first log in to StreamElements, simply connect with your YouTube or Kick account instead of your Twitch account. All the steps for adding the AlertBox, uploading custom .webm files, and adding the final URL to your OBS Browser Source remain exactly the same. The AlertBox will automatically listen for events from the platform you connected, such as YouTube Super Chats or new Kick followers.
If you prefer using Streamlabs, the process is just as simple.
.webm file in the “Image/Video” section.
Mastering your stream alerts is a fundamental step in transforming your channel from a hobby into a professional brand. They are your automated hype-man, your community-builder, and your monetization engine, all working for you 24/7. By moving beyond the default options and implementing custom, high-quality alerts, you are making a clear statement to every single viewer: this is a professional broadcast worth their time, attention, and support.
Now that you know exactly how to set up stream alerts, the next step is to find the perfect design to represent your unique brand.
Ready to find the perfect look for your channel? Explore our full collection of professional, ready-to-use animated stream alert packages and level up your stream today.
You’ve just gone live. A new viewer, intrigued by your title, clicks on your stream. The first thing they do? They follow, waiting to see
You’ve just gone live. A new viewer, intrigued by your title, clicks on your stream. The first thing they do? They follow, waiting for that
Stream Skins is a Design Company focused on improving your stream.
Do you want to evolve your stream?
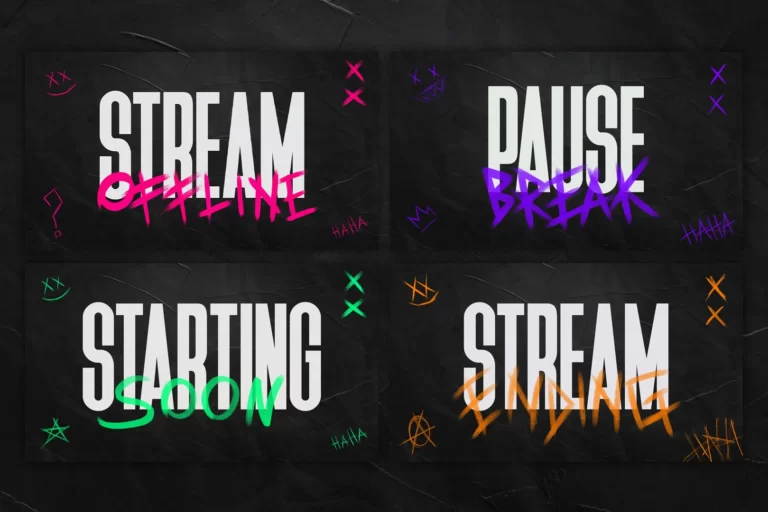
Premium Stream Overlays, Starting Soon, BRB, Stream Ending, Facecams, Transitions, Twitch Banners & Panels. Check out our Stream Shop.