The step-by-step Vtuber Modeling Ultimate Guide
The world of VTubers is an exciting blend of technology, creativity, and online culture. Central to a VTuber’s identity is their virtual avatar, which represents

Stinger transitions are transitions from one scene to another used in software such as Streamlabs Desktop and OBS Studio, when used correctly they can add great value to your stream and content creation.
In this tutorial, we will see how to create a perfect scene transition for your brand, with custom color and style that match your stream.
The first step in creating a stinger transition is to choose the software you will use. There are several options available, in this tutorial, we will be using Adobe After Effects.
If you want to have a scene transition done by a professional, check out our stream shop and choose the package that matches your stream
Before we start, it’s important to have a baseline of which path we’re going to follow, in this tutorial we’re going to make a modern transition in black and red colors.

Once you have opened Adobe After Effects, create a new composition by clicking on “Composition” and selecting “New Composition.” Name your composition and select the appropriate settings:
The resolution is Width 1920px Height: 1080px at a frame rate of 30fps, for the duration we will use 4 seconds. Keep in mind that a good scene transition is between 1 to 5 seconds so as not to tire the viewer or become repetitive

Now with the composition done, follow the next steps to create the transition concept:
As the process can be complicated, we’ll leave a video below illustrating the correct way to create a custom transition:
Once you have created your stinger transition animation, it’s time to export it. Click on “Composition” and select “Add to Render Queue.” In the Render Queue panel, select the desired settings for your export, such as the file format and codec.
Make sure to select the “Alpha Channel” option to include transparency in your animation. This is important for creating the stinger effect.
After you have exported your stinger transition animation, it’s time to set it up in OBS. Open OBS and create a new scene by clicking on the “+” button in the “Scenes” panel.
In the new scene, add the “Media Source” element by clicking on the “+” button in the “Sources” panel. Select the exported stinger transition animation file and click “OK.”
With the new scene created, select the icon “Edit Scene Transitions”.

Add a new transition in “Add Transition” and choose “Stinger” in the type. This is the complete menu with all your transition settings, add a file in “Browse” and choose your exported transition.
With the transition animation added to your scene, it’s time to configure the stinger transition effect. Click on the “Settings” icon next to the “Media Source” element and select “Properties.”
Under the “Properties” panel, select the “Stinger” option. Here, you can configure the stinger transition effect by adjusting the transition point, fade time, and other settings.
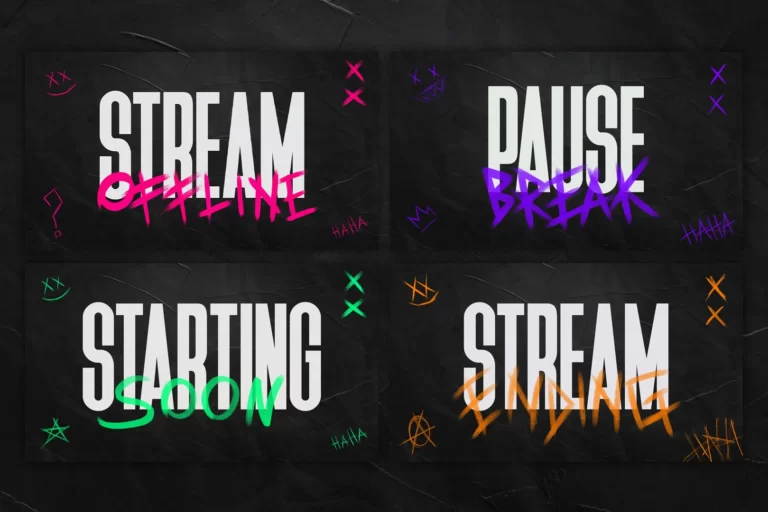
The transition point determines when the stinger transition will be triggered. For example, you can set the transition point to trigger when the “Starting Soon” scene ends and the main stream scene begins.
The fade time determines how long the stinger transition effect will last. A good length for the fade time is around 0.5-1 seconds.

Once you have configured the stinger transition effect, it’s time to test it out. Preview your stream by clicking the “Preview Stream” button in OBS and switching between scenes to test the stinger transition effect.
Make any necessary adjustments to the stinger transition effect to ensure that it looks and feels right. Once you are happy with the results, you’re ready to start using your new stinger transition in your Twitch stream.
Adding a stinger transition to your Twitch stream can enhance its overall production value and make it more engaging for your viewers.
By following the steps outlined in this tutorial, you can create a high-quality stinger transition using Adobe After Effects and OBS, even if you’re new to animation and streaming.
Remember to keep your stinger transition short, test it thoroughly, and make any necessary adjustments to ensure that it aligns with your brand and content.
If you have other doubts about how to improve the quality of your stream and configure OBS to extract maximum performance, see our tutorial on How to configure OBS to get the best result on your stream.
With a little bit of creativity and practice, you can take your Twitch stream to the next level with a custom stinger transition.
The world of VTubers is an exciting blend of technology, creativity, and online culture. Central to a VTuber’s identity is their virtual avatar, which represents
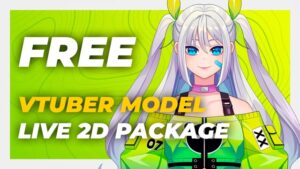
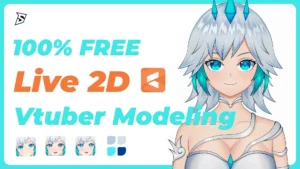
Looking for a free VTuber model that’s fully rigged, stylish, and stream-ready? You’ve found it. This professionally designed Live2D model is free for personal use
Stream Skins is a Design Company focused on improving your stream.
Do you want to evolve your stream?
Premium Stream Overlays, Starting Soon, BRB, Stream Ending, Facecams, Transitions, Twitch Banners & Panels. Check out our Stream Shop.