Best Animated Overlays for Streaming (2025 Guide)
The best Animated Overlay Stream Pack: Best Picks, How to Choose, and 5-Minute OBS Install Guide If you searched for “animated stream overlay pack,” you’re
Do you want to know how to make a twitch stream overlay in under 5 minutes? It’s actually a lot easier than you might think.
In this blog post, we will walk you through the steps that you need to take to create an overlay for your stream.
We will also provide some tips on how to make sure that your overlay looks great and helps improve your stream quality!
The first step to creating a stream overlay is to choose the design that you want to use.
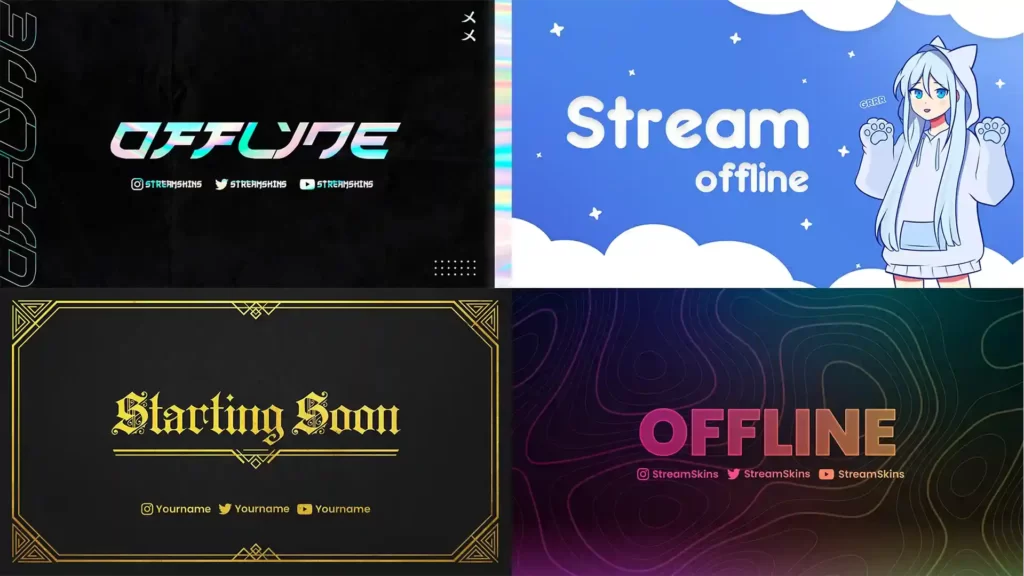
There are many different options out there, from simple templates that simply add basic elements like your stream title and webcam feed, to more complex designs that include custom graphics, a complete twitch package, and a good art direction.
To help you with that, Stream Skins has a range of overlays so you can start with a ready-made base and modify it to your liking.
First, go to the Stream Shop and choose the overlay you like the most.
Choose the premium package, it contains the editable files that we are going to use to create our overlay.
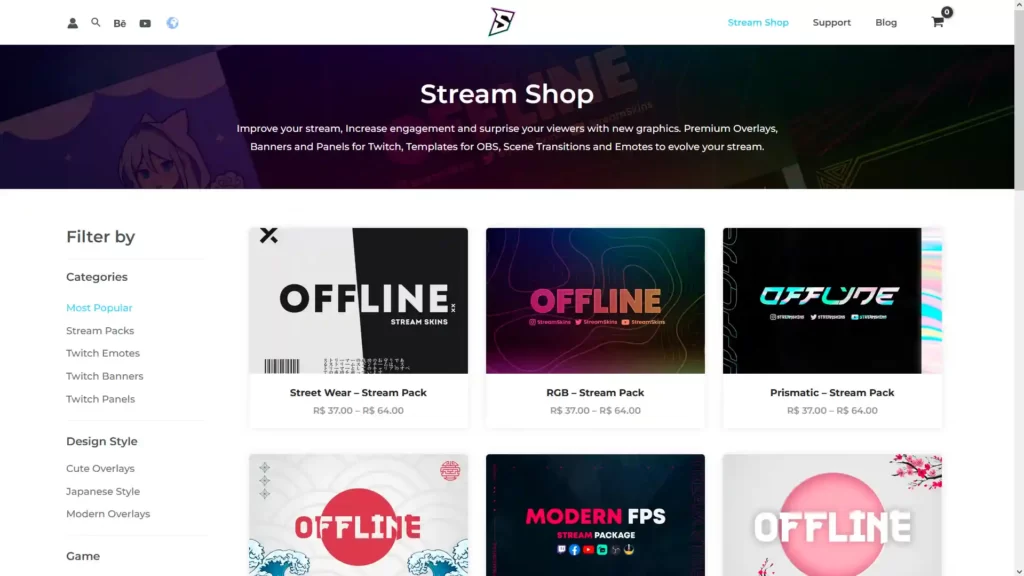
After downloading you will receive a folder containing several files among camera borders, Twitch Banners, and Twitch Panels, among other assets.
These are the files that we are going to use to start the customization.
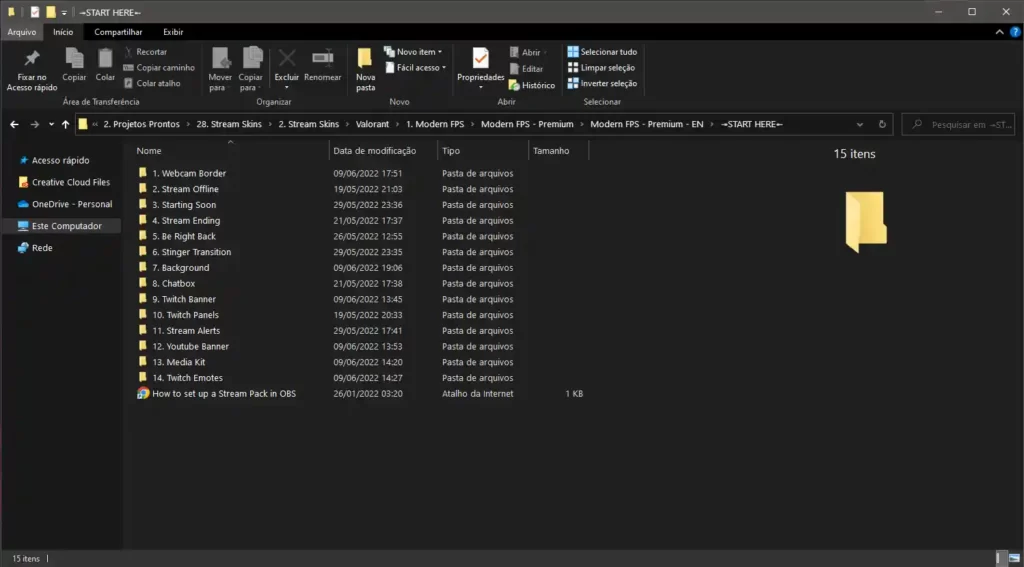
To edit the files you will need Adobe Photoshop but don’t worry Adobe offers a 7-day free trial period.
1. Open the PSD file and start the customization, for this example we will use RGB – Stream Pack
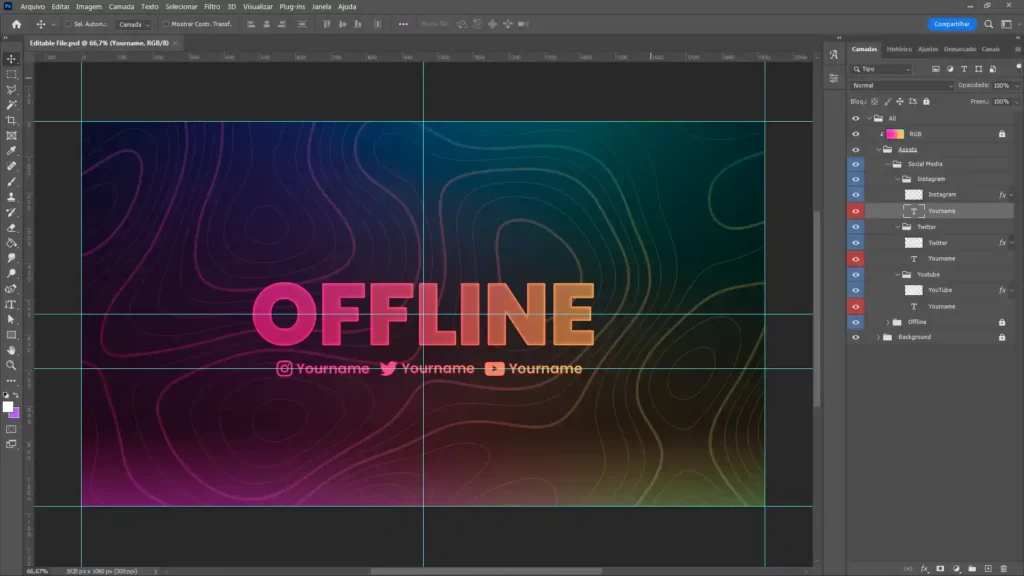
2. Add your social media handles.
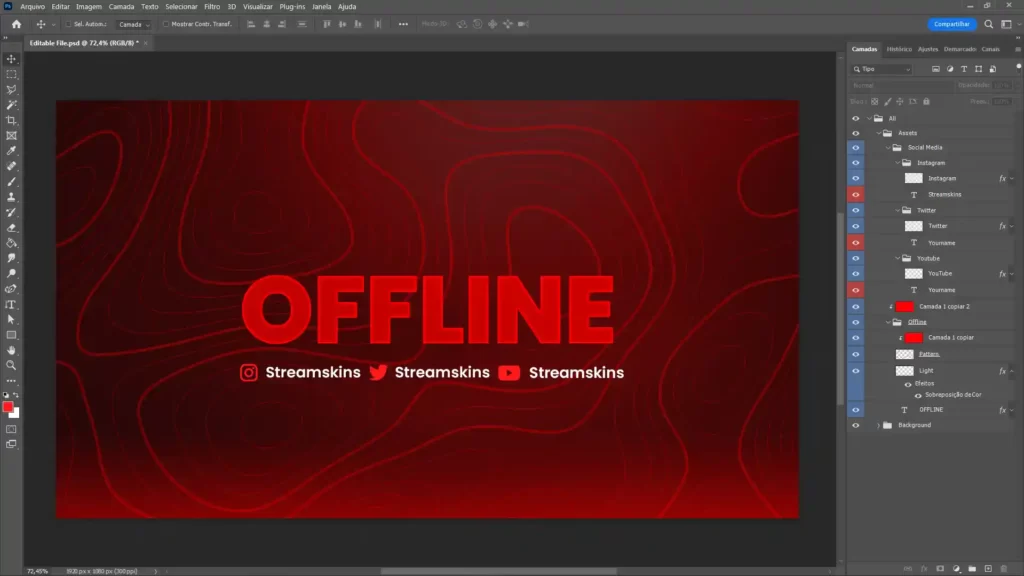
3. Incorporate your brand colors – Your twitch overlay should be cohesive with the rest of your channel’s branding. This means incorporating your brand colors into the design of the overlay.
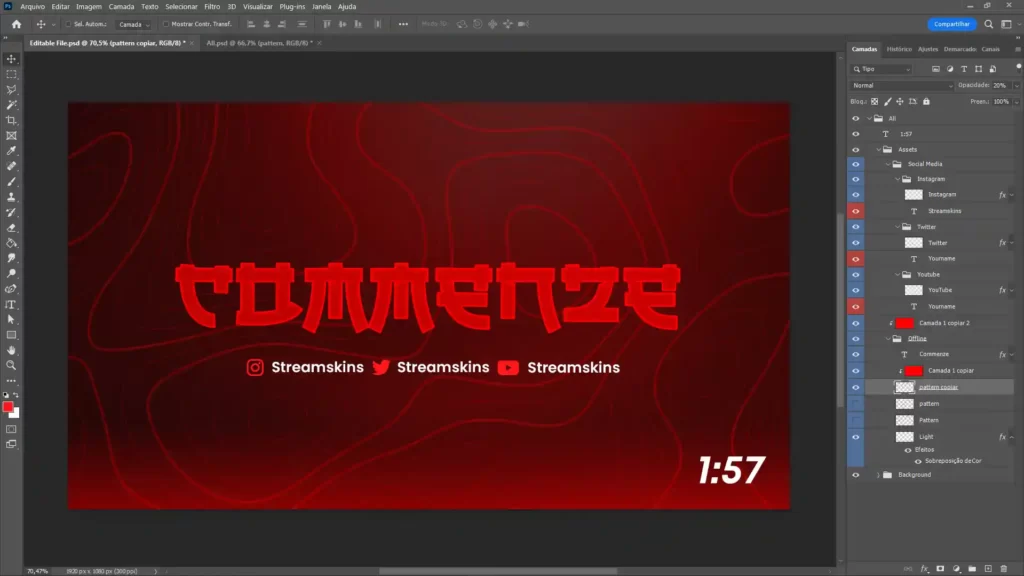
4. You can even change the font, language of the text, and add other elements like a countdown.
Remember to use clean and easy-to-read fonts – When it comes to fonts, less is more. Stick to one or two fonts for your overlay.
Make sure the design is functional – In addition to looking good, your twitch overlay should also be functional.
This means including elements like social media icons and links, as well as any other information that you want your viewers to see (e.g., schedule, donations, etc.).
Test the overlay before going live – Before using your new twitch overlay for the first time, be sure to test it out in a live stream environment.
This will allow you to see how it looks and functions in real time and make any necessary adjustments before going live for all of your viewers to see.
Once you have created a stream overlay that looks great, the next step is to upload it to your streaming platform of choice.
For example, if you are using Twitch, you can simply go to the stream settings and upload your new overlay.
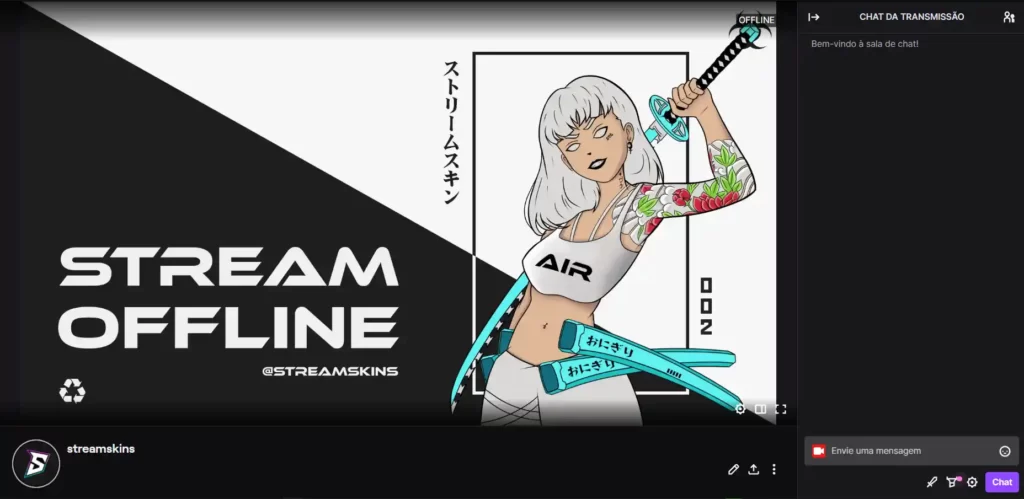
To ensure that your stream is as effective as possible, it’s also important to consider other factors like lighting, sound quality, and stream optimization.
By taking these steps into account, you can help improve your stream quality and engage with your audience in a more meaningful way.
So if you’re looking to create a stream overlay that really stands out, the key is to be creative and thoughtful in your design choices. With the right tools and some practice, you can easily create an overlay that looks great and helps enhance your stream quality!
If you don’t want to go to the trouble of creating your own overlay, see our list of the best Twitch Overlays of 2022

The best Animated Overlay Stream Pack: Best Picks, How to Choose, and 5-Minute OBS Install Guide If you searched for “animated stream overlay pack,” you’re

The world of VTubers is an exciting blend of technology, creativity, and online culture. Central to a VTuber’s identity is their virtual avatar, which represents
Stream Skins is a Design Company focused on improving your stream.
Do you want to evolve your stream?
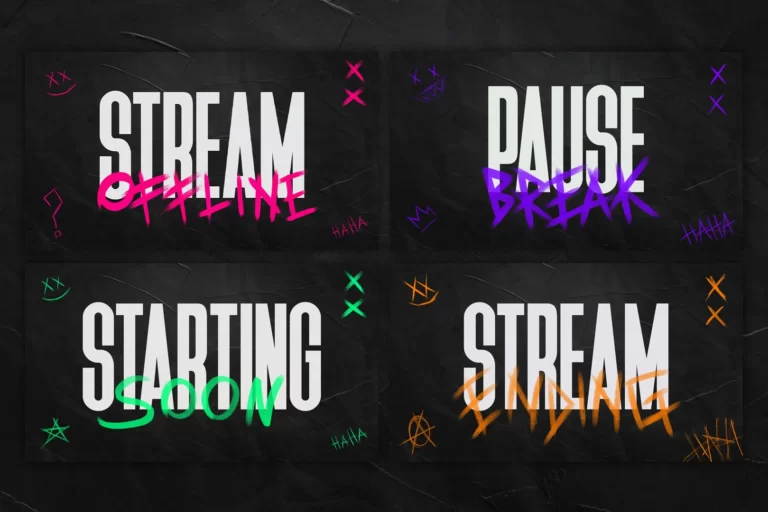
Premium Stream Overlays, Starting Soon, BRB, Stream Ending, Facecams, Transitions, Twitch Banners & Panels. Check out our Stream Shop.