How to Stream on YouTube: The Complete Step-by-Step Guide
Learning how to stream on YouTube is a powerful first step toward building a successful and sustainable content creation career. While Twitch has long been
Getting your Twitch stream overlay size right is one of the most crucial steps to creating a professional-looking broadcast. There’s nothing more frustrating than spending time or money on a beautiful design only to have it appear stretched, blurry, or misaligned on screen. The good news is that solving this problem is simple once you understand the core principle: your overlay dimensions must perfectly match your stream’s resolution settings.
This comprehensive guide will walk you through everything you need to know. We’ll cover the golden rule of overlay design, provide a complete cheatsheet with the exact pixel dimensions for every component—from webcam frames to alerts—and share essential best practices to ensure your stream looks pixel-perfect every time you go live.
Before we talk about any specific component, you must understand one key concept: Canvas (Base) Resolution. In your streaming software, like OBS Studio or Streamlabs, the Canvas is your digital workspace. It’s the full-screen area where you arrange all your sources—your game capture, webcam, alerts, and overlay graphics.
For your overlay to fit correctly, its dimensions must be identical to your Canvas Resolution.
The undisputed industry standard for streaming is 1920×1080 pixels, which is a 16:9 aspect ratio, commonly known as 1080p or Full HD.
Why 1920×1080?
In your streaming software settings, ensure your “Base (Canvas) Resolution” is set to 1920×1080. This is the single most important setting for ensuring your overlays fit.
 1")
While your main canvas is 1920×1080, your overlay is made up of many different pieces. Here are the standard dimensions and best practices for each component.
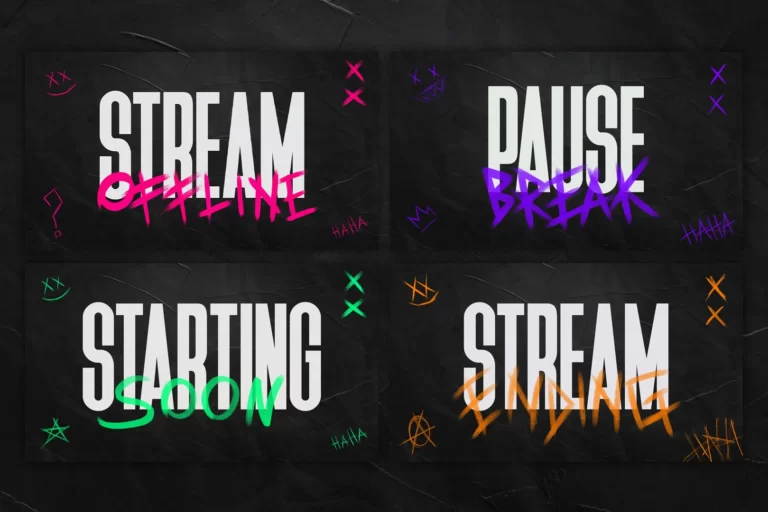
These are the graphics that take up your entire canvas. They should always be created at 1920×1080 pixels to ensure they fill the screen without needing to be stretched.
These full-screen assets are foundational and often set the visual tone for your entire stream.
 2")
These are the transparent graphics that sit on top of your gameplay or other sources. They should be created as individual PNG files for maximum flexibility.
 3")
A professional stream also has consistent branding on its Twitch channel page. These are separate from your OBS overlay but are just as important for creating a strong brand identity.
 4")
Getting the dimensions right is half the battle. Following these professional best practices will ensure your stream runs smoothly and looks fantastic.
This is a non-negotiable rule for individual overlay components. Your webcam frame, alerts, and other graphics must be saved as .PNG files with transparency enabled. If you save them as a .JPEG, they will have a solid white or black background that will cover your gameplay. Full-screen scenes like “Stream Starting Soon” can be JPEGs or MP4s (for animation), but all on-screen elements must be transparent PNGs.
High-resolution, unoptimized graphics can consume valuable CPU resources, potentially causing your stream to lag. While you want your overlay to look crisp, you also need it to be efficient. Use a free online tool like TinyPNG to compress your overlay files without sacrificing much visual quality.
Don’t clutter your screen. The primary focus should be your content (gameplay, art, etc.). Keep your overlay elements contained to the borders of the screen. Leave a “safe zone” or padding around the edges. Most importantly, ensure your overlay doesn’t cover crucial in-game information like the mini-map, ammo count, or character health bars.
Avoid using a single, monolithic overlay file that includes the webcam frame, event labels, and other elements all in one image. Instead, export each component as a separate PNG file. This allows you to easily move, resize, or hide individual parts of your overlay within OBS. This modular approach is the hallmark of a professional setup. Understanding what is included in a stream overlay will help you plan your separate components effectively.
Once you have your properly sized graphics, setting them up is straightforward. In OBS or Streamlabs, you’ll add each PNG file as a separate “Image Source” within your scene. You can then position and resize them as needed. For a complete walkthrough on this process, follow a detailed guide on how to set up a stream pack on OBS.
What size should my overlay be if I stream at 720p? You should still design all your overlays at 1920x1080p. Set your “Base (Canvas) Resolution” in OBS to 1920×1080, and set your “Output (Scaled) Resolution” to 1280×720. The software will downscale the entire high-quality scene perfectly, ensuring nothing looks blurry or pixelated.
Why does my overlay look blurry or pixelated on stream? This usually happens for two reasons. First, you might have created the graphic at a small size and then stretched it to be larger in OBS. Always design at the size you need or larger. Second, your stream’s bitrate might be too low for the resolution you’re sending, causing the entire image, including your overlay, to look compressed.
What is the best aspect ratio for a Twitch overlay? The best and only aspect ratio you should use is 16:9. This is the standard for modern widescreen displays and is what Twitch’s video player is designed for. Using any other aspect ratio (like 4:3 or 21:9) will result in black bars on the sides or top of your stream.
Can my overlay be an animated video file? Yes! Animated overlays are very popular. They are typically saved as .WEBM or .MP4 files. .WEBM is often preferred as it supports transparency. You would add this file as a “Media Source” in OBS, not an “Image Source,” and make sure to check the “Loop” option.
Do I need a different overlay size for mobile viewers? No. You should design for the standard 1920×1080 desktop view. Twitch’s mobile app will automatically scale your stream to fit the viewer’s phone screen. However, this is a good reason to keep your overlay elements and text large and clear, as they will be much smaller on a mobile device.
What DPI should I use for my overlay design? DPI (Dots Per Inch) is a metric for print and is irrelevant for digital screen design. The only thing that matters is the pixel dimensions (e.g., 1920×1080). When creating your file in a program like Photoshop, you can leave the DPI at the default of 72.
Mastering your Twitch stream overlay size is a fundamental step toward creating a broadcast that looks polished, credible, and professional. The core principle is simple: set your canvas to the 1920×1080 standard and ensure all your full-screen graphics match. From there, understanding the individual component sizes and following best practices will give you the control to build a flexible and beautiful stream layout.
A well-designed and properly sized overlay is a silent testament to your dedication as a creator. It builds viewer trust and makes your content instantly more appealing.
Your next steps are to:
Learning how to stream on YouTube is a powerful first step toward building a successful and sustainable content creation career. While Twitch has long been
A webcam is more than just a camera; it’s your face and personality, the primary way you connect with your audience. Choosing the best streaming
Stream Skins is a Design Company focused on improving your stream.
Do you want to evolve your stream?
Premium Stream Overlays, Starting Soon, BRB, Stream Ending, Facecams, Transitions, Twitch Banners & Panels. Check out our Stream Shop.